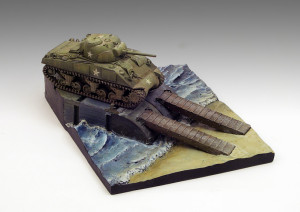
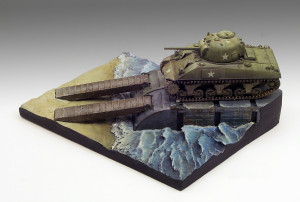
Normandy 1944 – diorama from Attack Squadron
Ten post dostępny jest także w języku: Polish
Invasion in Normandy in 1944 and its 70th anniversary was the subject of modelers interest in the past month. There are many models and dioramas depicting this event. See how the latest model of Attack Squadron was used to create interesting Normandy landing diorama.
Dioramas from Attack Squadron
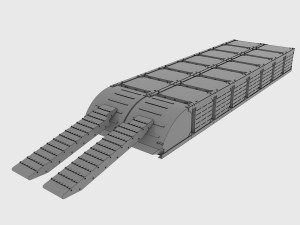
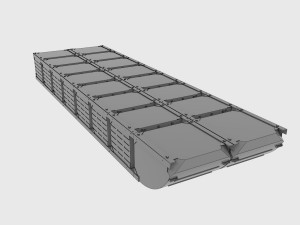
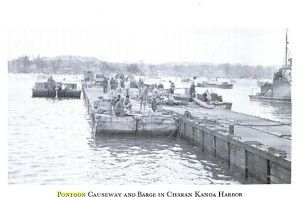
Attack Squadron produces a few diorama sets 1/72 scale: Catapult P-6 and NL transport barge used by the Seabees. The latter model represents one of the variants of modular floating pier, made of steel cubes. Widely used by U.S. Navy Engineers (Seabees) to build all the necessary coastal installations during World War II. Normandy landing pier was recently released.
Buy Ponton Pier kit in www.armahobby.com internet shop: click
US Navy Seabees Ponton Pier 1/72
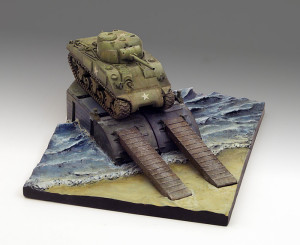
Diorama set U.S. Navy Seabees Pontoon Pier 1/72 scale presents the unloading point on the beach in Normandy. Piers length of 30 “cubes” were anchored to the beach, and a similar construction driven with a diesel engine transported vehicles and other equipment from ships to the beach.
Diorama construction
Construction of vignettes began with the items layout on a sheet of A4, and then find something that would satisfy the role of a basis for secure him the whole “superstructure”. It matched on the packaging of the CD – the size was quite adequate, enough to cut the protruding edges. Resin pier from Attack Squadron is quite long, I found that the use of a whole strongly disrupted by the composition (long pier, and therefore a lot of “terrain” not permit adequate visibility of the tank – the main character of the scene).
Diorama cut
Medium tank fit on a long pier – it was necessary to cadre the diorama. I decided not to use, therefore all the “building blocks” forming the pier and also obliquely cut end parts – I used photoetched saw, but at the size of the parts it could be used an ordinary razor blade. When I had fitted pier components in the desired position on the stand I started to prepare the “water.”Water and the beach I made with “Miliput”. More convenient would be to use polymer clay (such as Fimo) but the plastic tray prevented to bake a whole. I formed from the mass the beach and waves, and then I left the whole to dry. After drying the sides of the base were sanded smooth with abracise wheel mounted to the usual domestic drill.
Painting of diorama
It came time to paint. A bit of force was required to detach the pier parts from diorama base for painting (I preferred to paint them separately). It was airbrushed base primer and primary colors, sand beach and blue green water. Wave crests highlighted with adding white to the color base. Then I finished the base with a brush, even more highlightning wave crests imposing pure white to “foam” and diversifying water color hue where sand was visible on shallow water. On the water I put gloss varnish then and I finished the sides of the base black.
Pier colors
Pier was painted with two colors – Olive Drab and 5-O Ocean Grey . These are typical colors landing devices were painted: landing craft, amphibious LVT, etc. I used lifecolor olive drab paint and mixed Vallejo and AK Interactive paint to Ocean Grey. Weathered “blocks” by adding rust stains, abrasion and dust – all with acrylic paint without the use of pigments and enamels.
M4 Sherman model tank
Sherman is Dragon Armor, it only had to be repainted to get rid of the toy look. I airbrushed olive shades, and then enhanced the color modulation with the brush. Rust, dust and abrasions done as I did when painting the pier.
Questions and comments are welcome.


